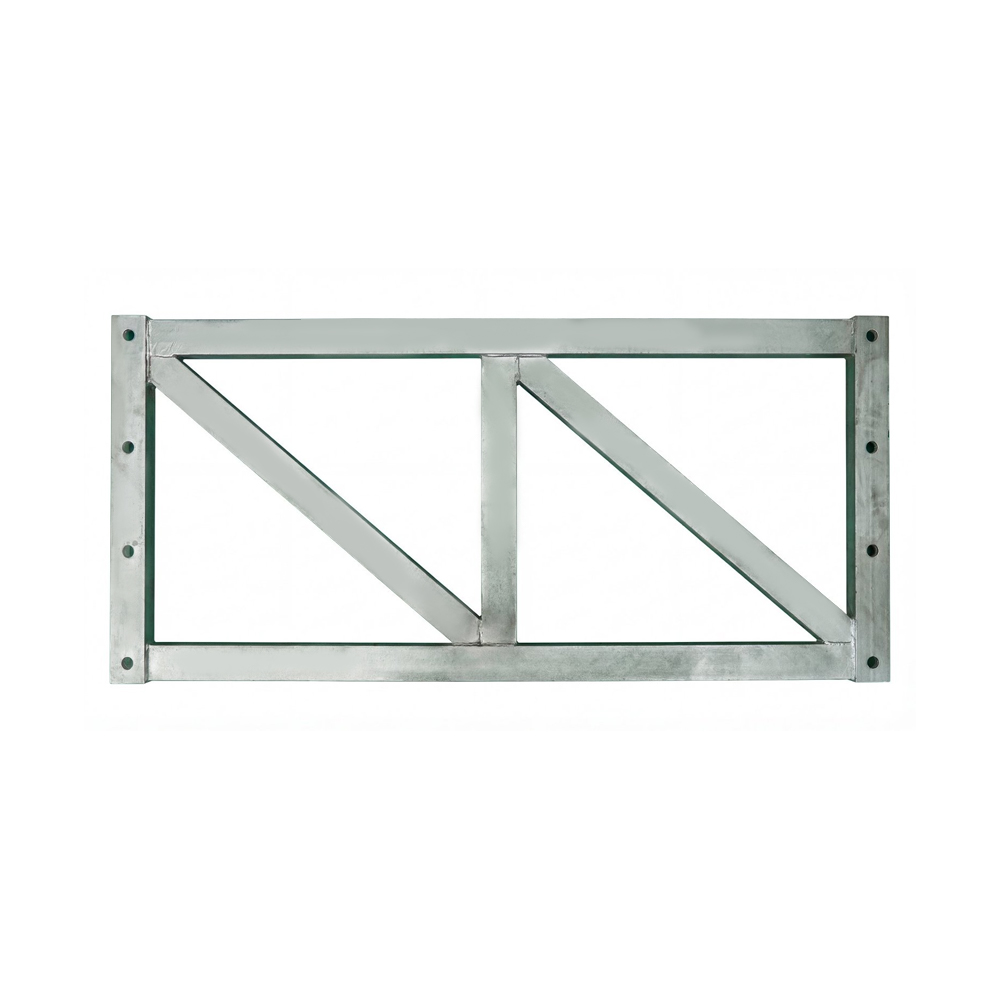
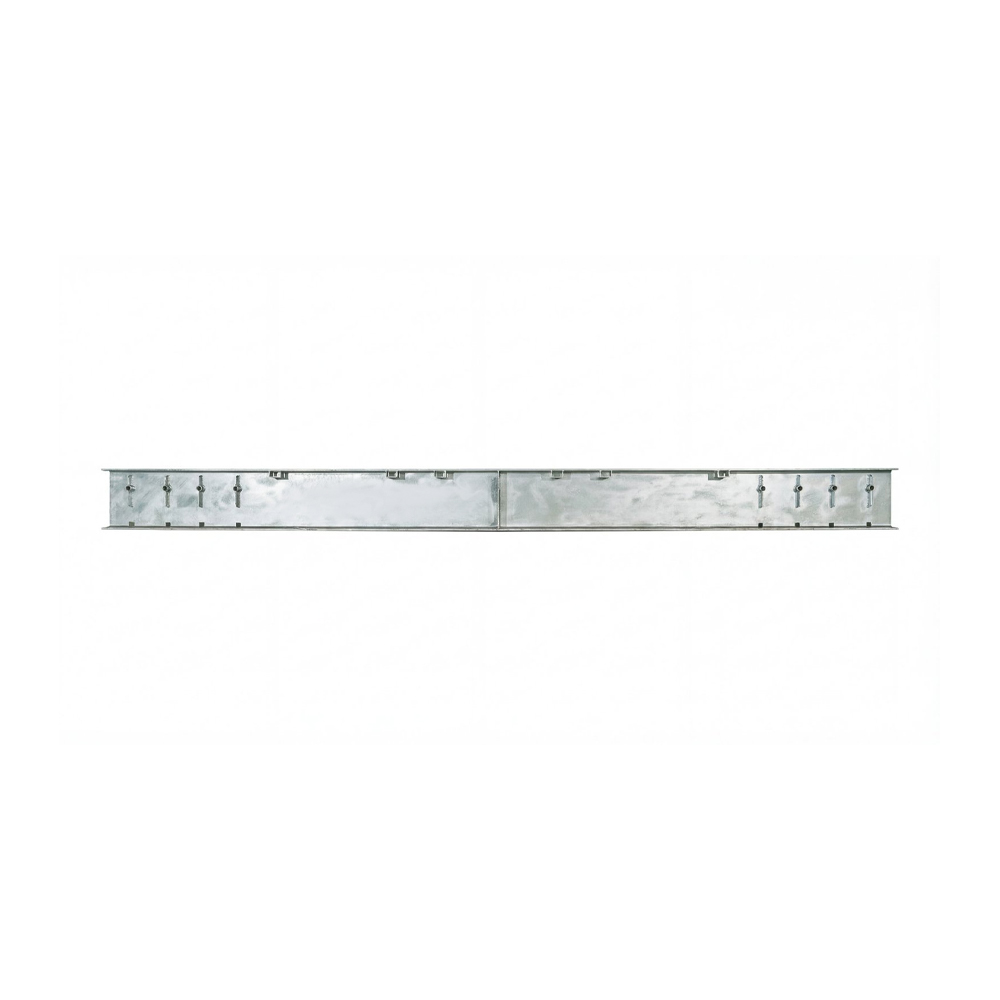
Bailey bridge construction is one of the most reliable ways to create a temporary or semi-permanent crossing when time, access, and load capacity all matter. Whether you are restoring a vital link after a flood, building a construction detour, or adding a short-span access bridge for a remote project, the modular bailey system offers a practical balance of strength, speed, and reusability.
At Jinhao Baileys, we have spent years designing, manufacturing, and erecting these structures. The process is not complicated, but it does reward careful planning. In this guide, we walk through the construction sequence from site preparation to decking, with the field-tested details that help a project go smoothly.
What Makes Bailey Bridge Construction Different?
A bailey bridge is a prefabricated truss system built from standard panels, crossbeams, support frames, and connecting hardware. Its defining feature is that individual components are small enough to be transported by truck, carried by hand, and assembled on site without heavy lifting equipment. The trusses are pinned together, which means the bridge can be built in a wide range of spans and strengthened later by adding extra panels or chords.
That modularity changes the construction approach. Instead of casting concrete in place or welding a one-off steel structure, bailey bridge construction is largely an assembly and launching operation. The same basic parts can form a short pedestrian crossing, a two-lane temporary road bridge, or a construction support platform for cast-in-place concrete work. This is why the method remains popular for emergency response, infrastructure maintenance, and temporary works.
Pre-Construction Planning and Site Preparation
Every successful bailey bridge starts with a clear understanding of the site. The bridge must fit the crossing, carry the expected loads, and be safe to install. Before any steel arrives, our engineers typically work through several checks with the project team.
Key Preparation Steps
- Survey the crossing: Measure the clear span, bank heights, approach grades, and any obstacles in the waterway or roadway below.
- Confirm the load requirement: Establish whether the bridge must support pedestrians, light vehicles, construction plant, or full highway loading.
- Check ground conditions: Test the soil at the abutments or piers to confirm bearing capacity and decide whether foundations need reinforcement.
- Plan the launch area: Identify where trusses will be assembled and how they will be pushed or lifted into position.
- Prepare access: Ensure that trucks, cranes, and workers can reach the site, and that the assembly area is level and well drained.
- Review permits and safety: Check environmental, waterway, and road authority requirements before work begins.
Good preparation also includes a component list. A bailey bridge is only as strong as its connections, so every panel, pin, chord, and crossbeam should be inspected and counted before assembly. Missing or damaged parts are easier to replace before the bridge is halfway across the gap.
The Core Components of a Bailey Bridge System
The classic bailey bridge uses a family of interchangeable parts. While exact designs vary between the Type 321 and HD200 systems, the basic vocabulary is similar. Understanding these components helps explain how the construction sequence works.
Basic components of a modular bailey bridge and their roles during construction.
| Component |
Function |
Typical Material |
| Truss panel |
Main load-bearing side girder; pinned together to form the bridge span. |
High-strength steel |
| Crossbeam |
Connects opposite trusses and supports the deck stringers. |
Steel beam |
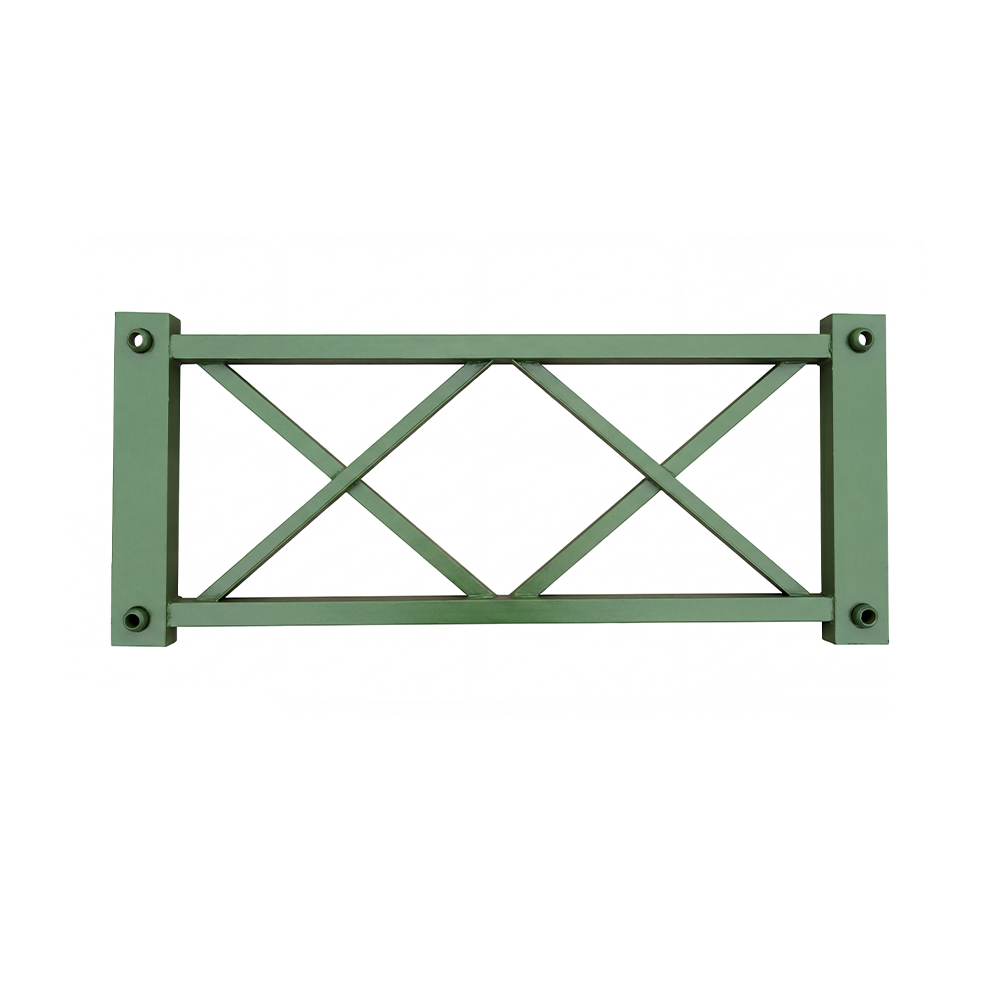
| Support frame |
Braces the trusses laterally and keeps them aligned. |
Steel tube or angle |
| Chord / reinforced member |
Strengthens the truss for longer spans or heavier loads. |
Steel section |
| Deck panel or stringer |
Provides the running surface for vehicles or pedestrians. |
Steel or timber deck |
| Pins and bolts |
Lock components together and transfer shear forces. |
High-tensile steel |
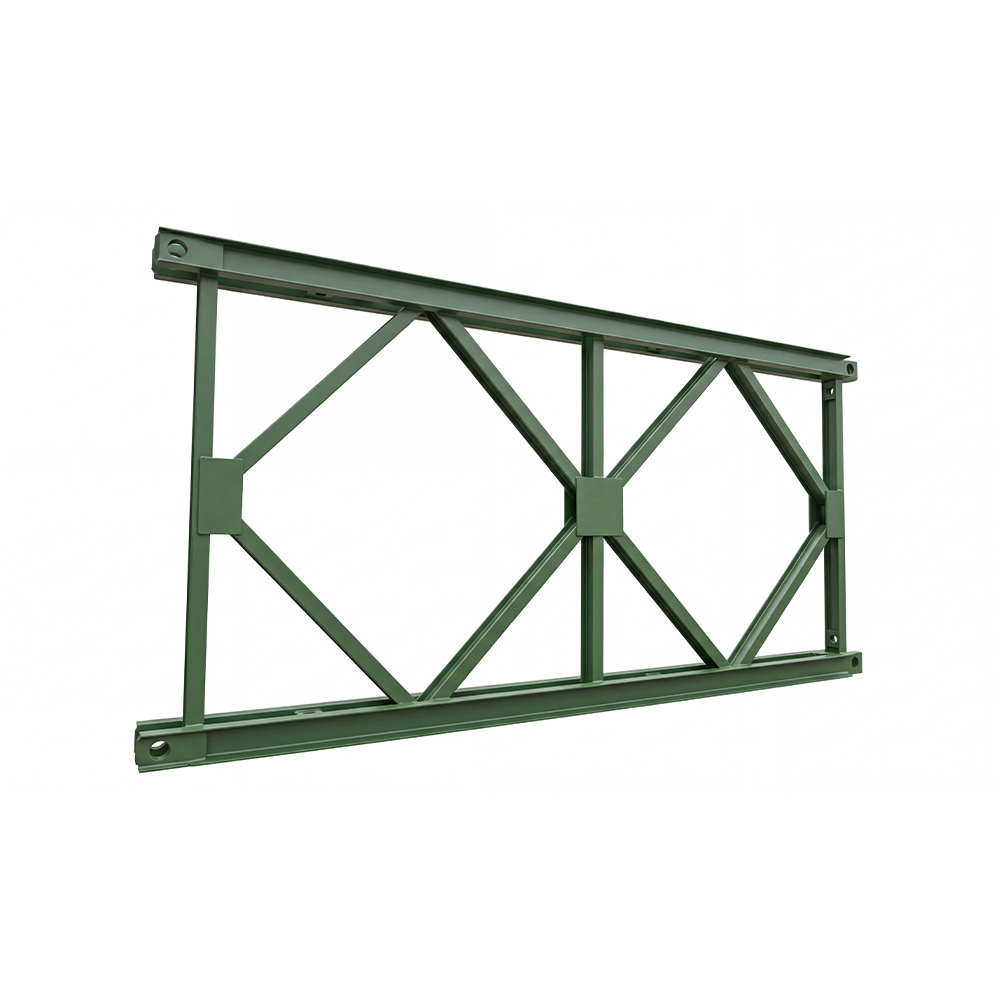
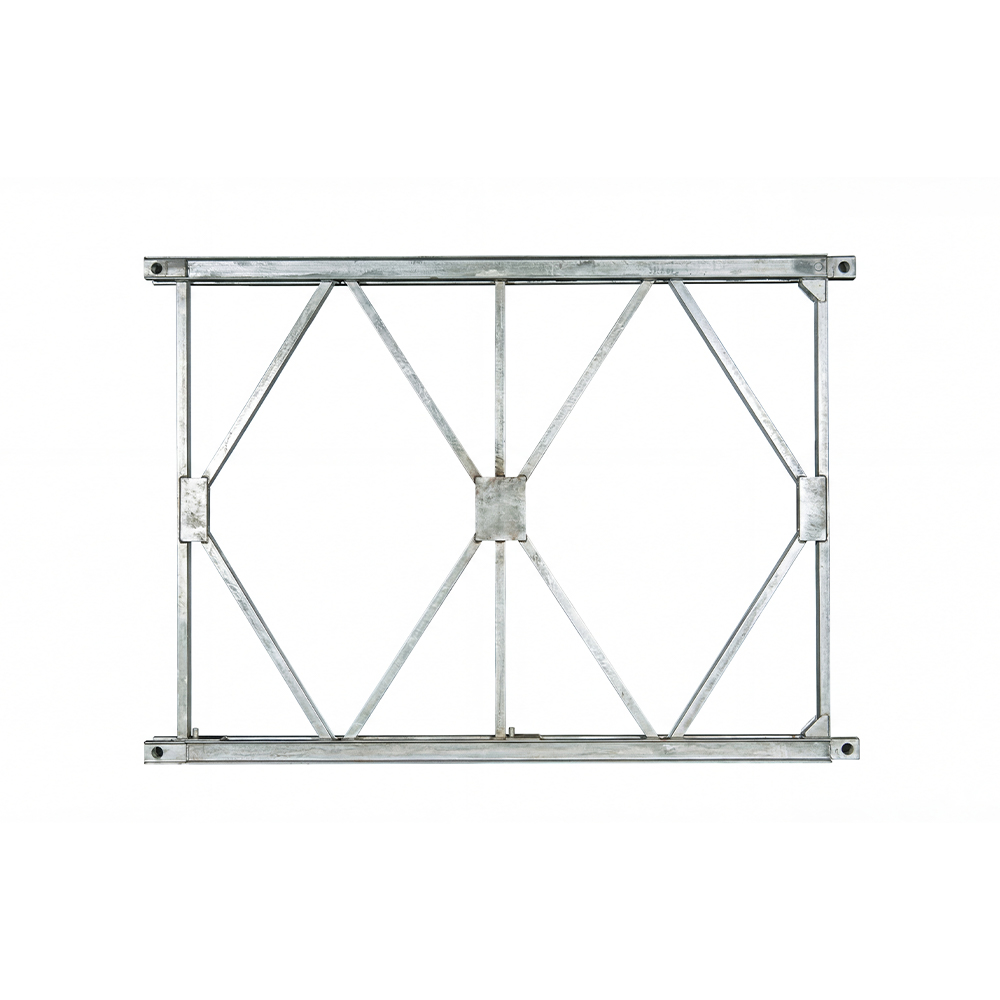
For standard temporary bridging, our Type 321 bailey bridge panel is a common starting point. It is light enough for manual handling but strong enough to form the backbone of a road bridge when used in multiple truss lines.
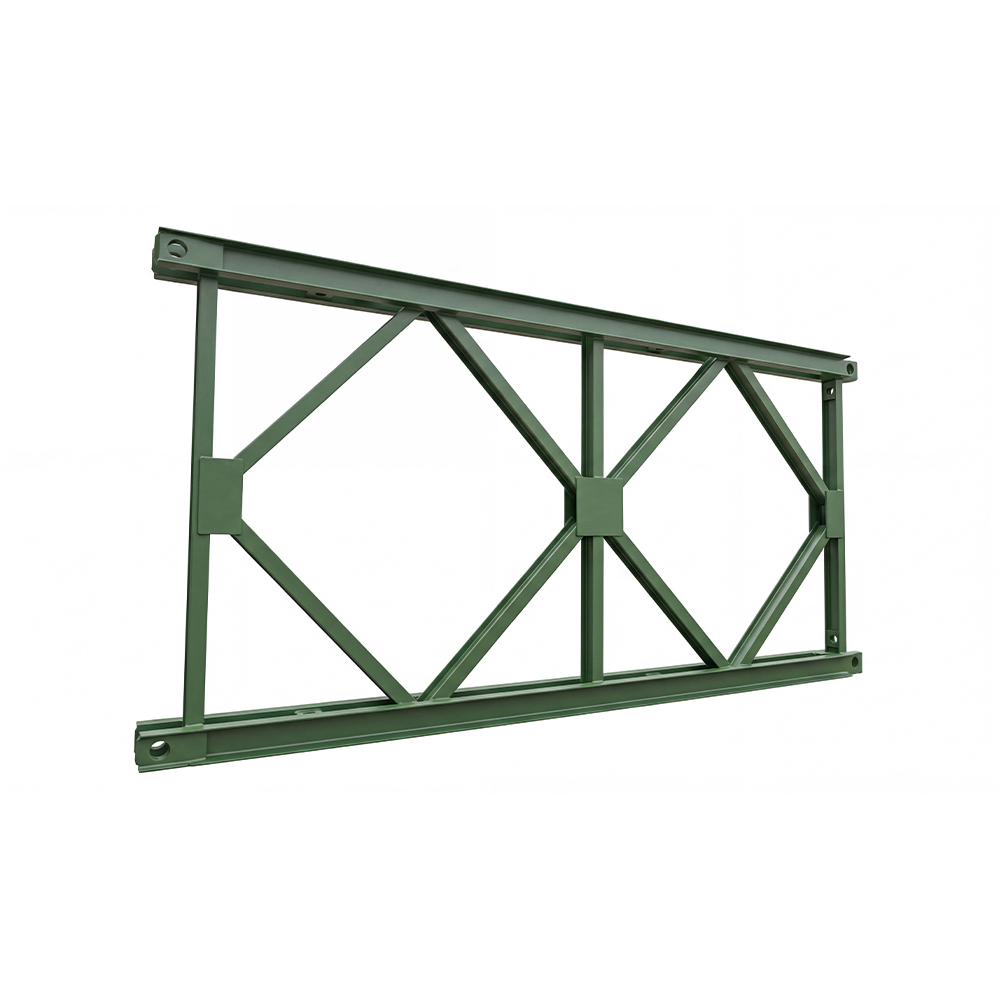 Type 321 - Bailey Bridge PanelThe chord members of the Bailey bridge panels are made of double-section 10# channel steel, and the vertical and diagonal members are made of 8# I-beams. The entire st...View Product →
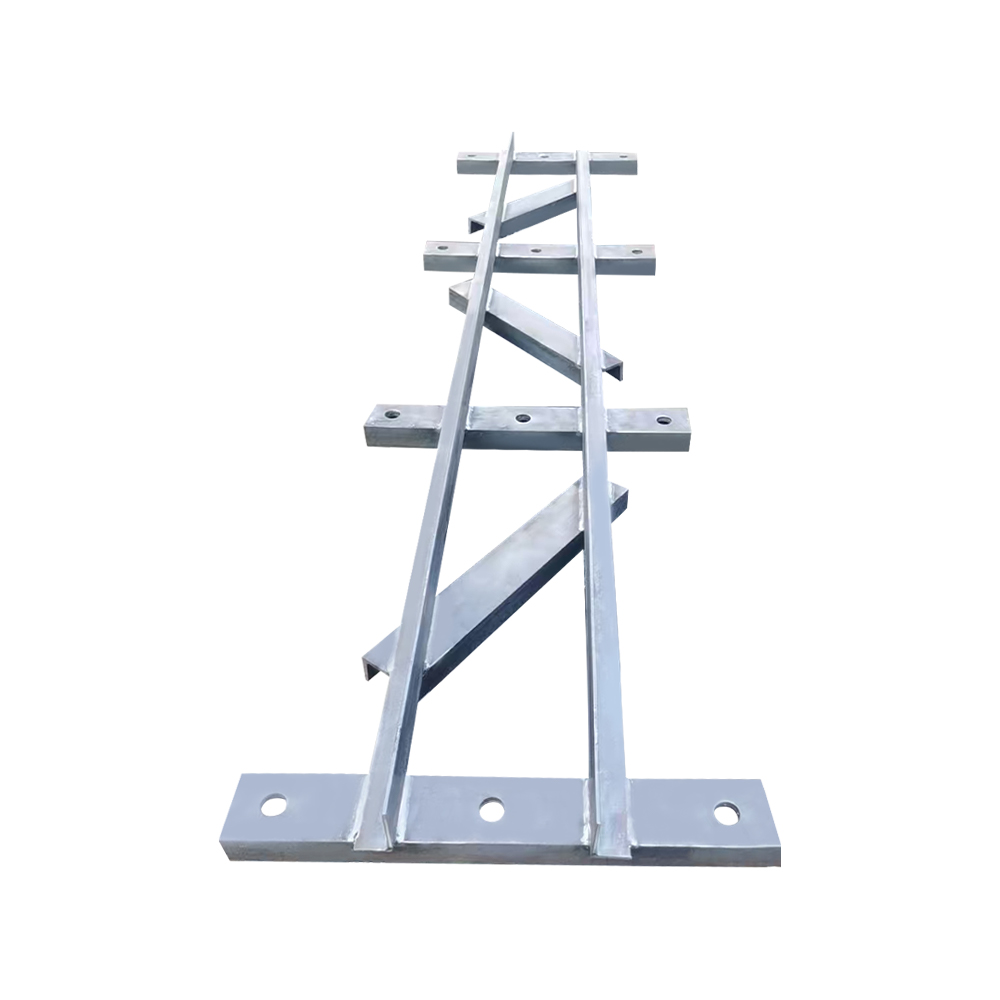
For heavier duties, the HD200 system offers a larger panel and higher capacity. Components such as the HD200 reinforced bailey truss allow designers to increase strength without changing the overall erection method.
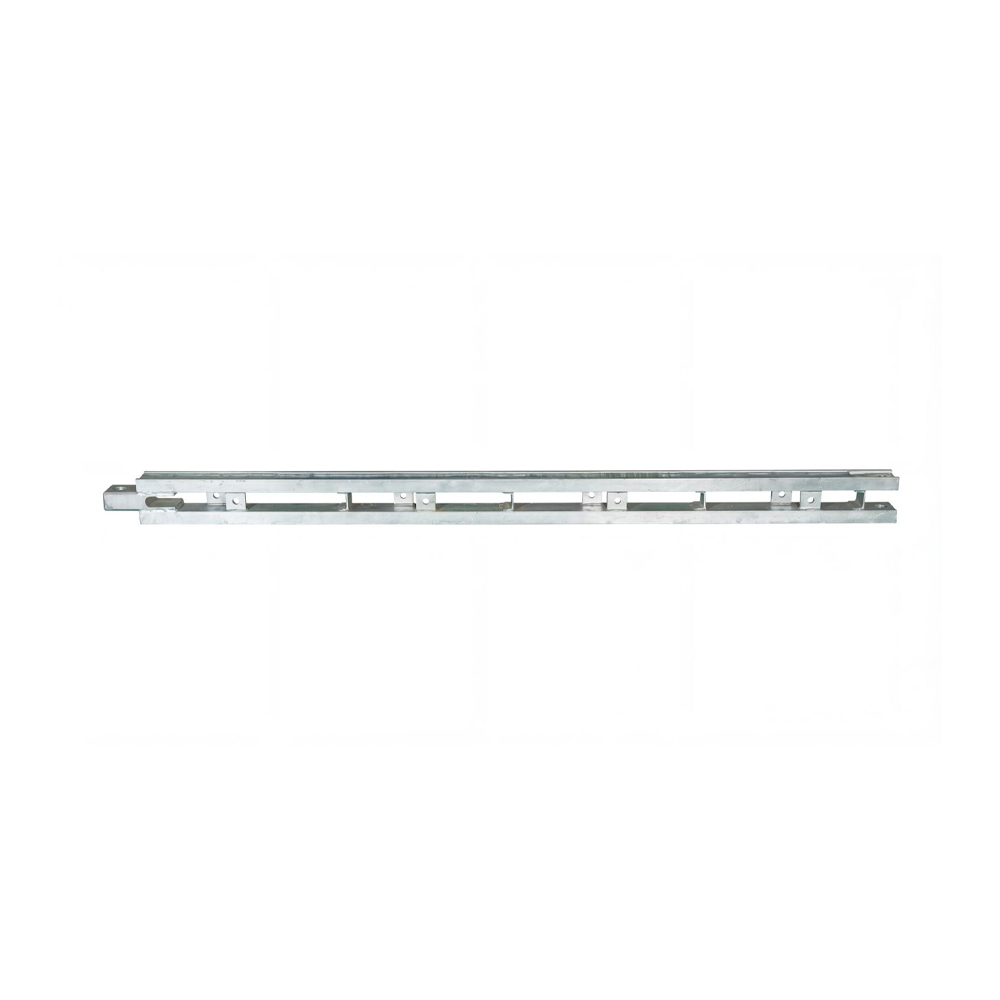 Type 200-reinforced chordThe Type 200-reinforced chord is a core reinforcing component specifically designed for the HD200 type prefabricated highway steel bridge and heavy-duty truss system. ...View Product →
Step-by-Step Bailey Bridge Construction Process
Although every site is different, most bailey bridge installations follow a similar sequence. The exact method depends on the span, the available equipment, and whether the bridge is launched from one bank or lifted into place.
1. Foundation and Pier Work
The bridge needs something solid to sit on. Abutments are prepared on each bank, and intermediate piers are added for longer spans. These may be concrete foundations, rock anchors, or temporary steel supports. The bearing points must be level and at the correct elevation so that the bridge does not twist during launch.
2. Assembling the Truss Panels
Trusses are usually assembled on the bank, parallel to the crossing or in a dedicated assembly area. Panels are laid flat, pinned together, and fitted with chords and bracing. For a cantilever launch, a lightweight nose is attached to the front of the truss to help it reach the far bank without overloading the structure.
3. Launching or Placing the Bridge
Once the truss is complete, it is moved across the gap. The most common method is the cantilever push, where the bridge is rolled forward over rollers or a launching beam. A crane lift is another option when the span is short and access allows. During the launch, the bridge acts as its own temporary support, so the rate of movement and the counterweight at the rear must be carefully controlled.
4. Deck Installation
After the trusses are seated on the far abutment, crossbeams are installed and the deck is laid. Decking may be steel panels, timber, or a composite system depending on the required surface and load. The deck is secured to the crossbeams and checked for gaps, trip hazards, and alignment.
5. Approach Roads and Finishing
The bridge is only useful if vehicles can reach it. Approach roads are graded and compacted, and guardrails or edge protection are added where required. The completed crossing is then inspected before it is opened to traffic.
Launching Methods: Cantilever Push vs. Crane Lift
The launching method has a major influence on safety and scheduling. Cantilever push is the classic bailey bridge technique. It requires little more than rollers, a winch, and a trained crew. The bridge is assembled behind one abutment and pushed forward until it spans the gap. A nose truss reduces the bending moment at the front and helps the bridge land on the far side.
A crane lift is faster for short spans and can be useful when there is no room for an assembly area. However, it requires a crane with sufficient capacity and a clear lifting plan. In some projects, a combination is used: the bridge is partially launched and then lifted or pulled into final position.
Whichever method is chosen, the key is to control the loads. The bridge must not be overstressed during launching, and the crew must never stand under a moving truss. We always recommend a trial launch on the ground or a detailed structural check before the real operation begins.
Quality Control and Safety During Construction
Bailey bridges are robust, but they rely on correct assembly. A few simple quality checks prevent most problems on site.
- Inspect all pins, bolts, and panels for damage or corrosion before use.
- Confirm that every pin is fully inserted and secured with its retaining clip.
- Check truss alignment and bracing as the bridge is assembled.
- Monitor the launch for unusual deflection, noise, or movement.
- Keep the assembly area clear of unnecessary personnel during lifting or pushing.
- Use tag lines and communication protocols when guiding the bridge into place.
Safety is not only about the steel. Weather, water levels, and ground conditions can change quickly. A site that was safe in the morning may need re-evaluation after rain. Our field teams treat the launch as a critical operation and stop work if conditions fall outside the plan.
Common Applications and When to Use a Bailey Bridge
Bailey bridge construction is used across a wide range of civil and military projects. The most common applications include:
- Emergency crossings: Replacing a collapsed or damaged bridge after a natural disaster.
- Construction access: Providing a temporary route for plant and materials during a larger bridge project.
- Municipal detours: Maintaining traffic flow while a permanent structure is repaired or replaced.
- Water and rail projects: Creating short-term access across canals, rivers, and rail corridors.
- Cast-in-place support: Using bailey trusses as a support system for formwork and falsework on concrete bridges.
The same modular logic can be adapted to form launching noses, gantries, and temporary towers. For cast-in-place bridge construction, components such as the Type 321 900 support frame help create a stable platform beneath the formwork.
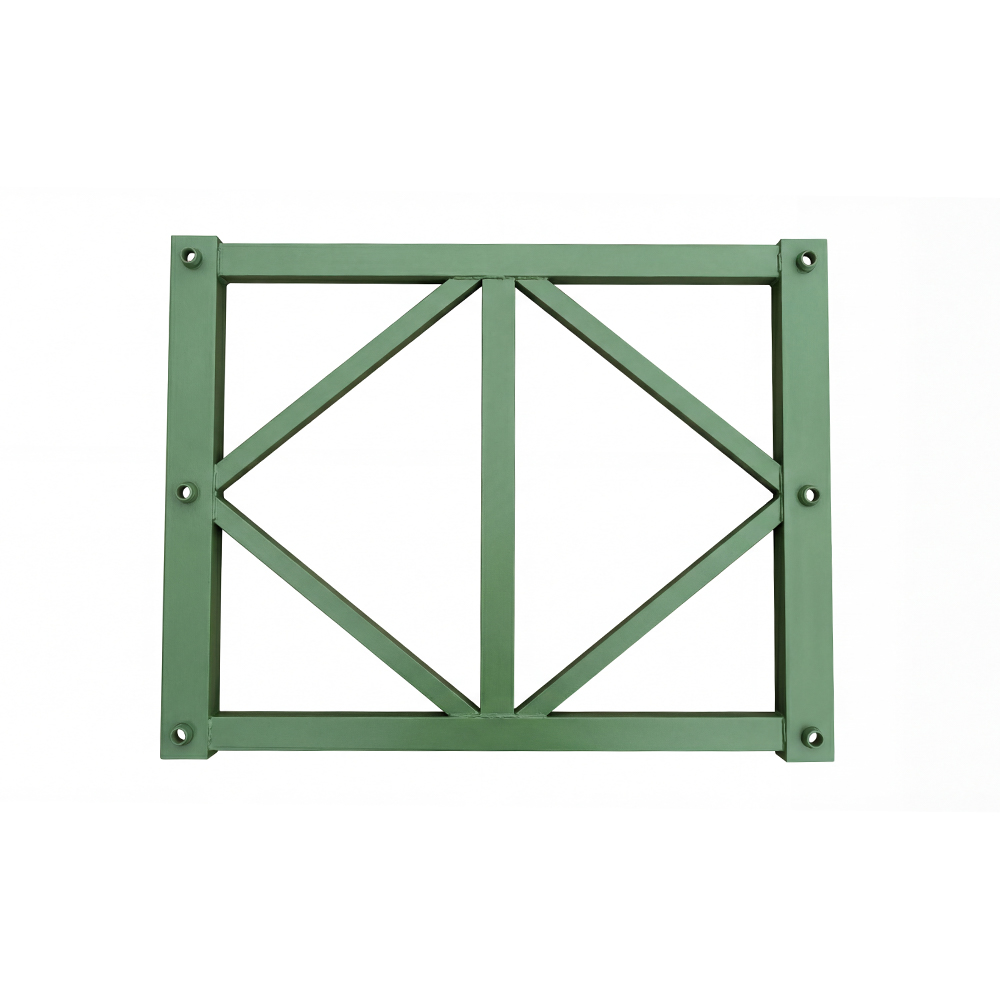 Type 321- 900 Support Frame For Cast-In-Place Bridge Bailey SupportThe Type 321-900 support frame for Bailey bridges is made of angle steel and connects two sets of Bailey bridge panels into a single unit, increasing the stability and...View Product →
If you are planning a temporary crossing, it is worth considering whether a rental arrangement makes more sense than a purchase. Many projects only need the bridge for a few months, and a rental package can include design, delivery, and erection support.
Maintenance, Disassembly, and Reuse
One of the great advantages of bailey bridges is that they can be dismantled and reused. After the project is complete, the deck is removed, the crossbeams are unbolted, and the trusses are unpinned and stacked for transport. Components should be cleaned, inspected, and stored under cover where possible.
During service, a simple maintenance routine keeps the bridge safe. Check for loose pins, damaged decking, corrosion, and any movement in the abutments. After a flood or heavy loading event, a more detailed inspection is recommended. Because the parts are standardized, damaged components can usually be replaced individually rather than replacing the whole bridge.
Bailey bridge construction is a practical skill that combines engineering, logistics, and teamwork. With the right planning, the right components, and a disciplined launch procedure, a modular steel bridge can be installed in days rather than months. It can then be removed, stored, and used again on the next project.
If you would like to discuss a specific crossing, our team at Jinhao Baileys can help with design, manufacturing, erection, and rental. We also share more background on the role of Bailey steel bridges in modern temporary and emergency works. You can also learn more about our company and the full range of bridge and formwork solutions we provide.


 Français
 Español
 عربى
عربى